Operational and Field Instructions
Operational and Field Instructions
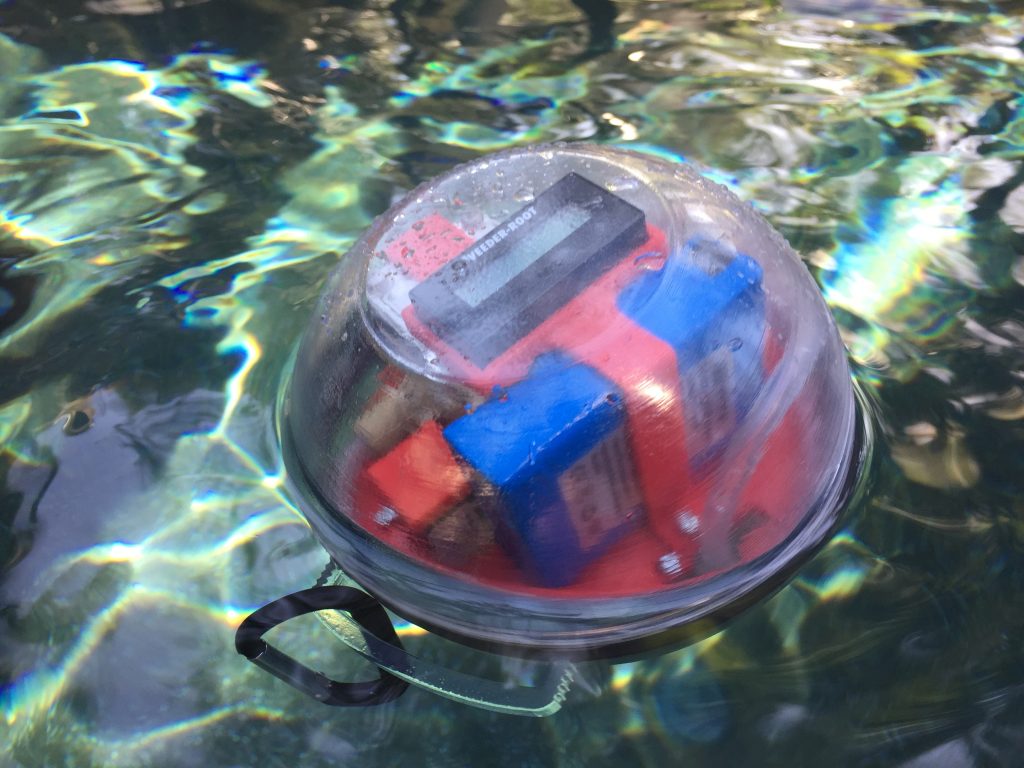
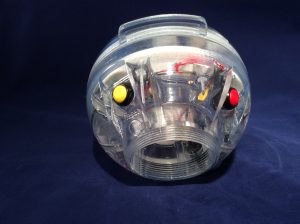
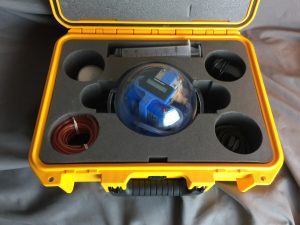
Above are photos of the Continuous Low-level Aquatic Monitoring device called the CLAM . The CLAM comes in a field ready case with accessories shown in the photos above. The CLAM should be treated as an instrument and not subjected to severe jolts or rough handling.
The following steps will be a simple guide to turn on, deploy, record the volume of water extracted and retrieve the CLAM and transport the SPE disks to the Laboratory.
Operational Steps
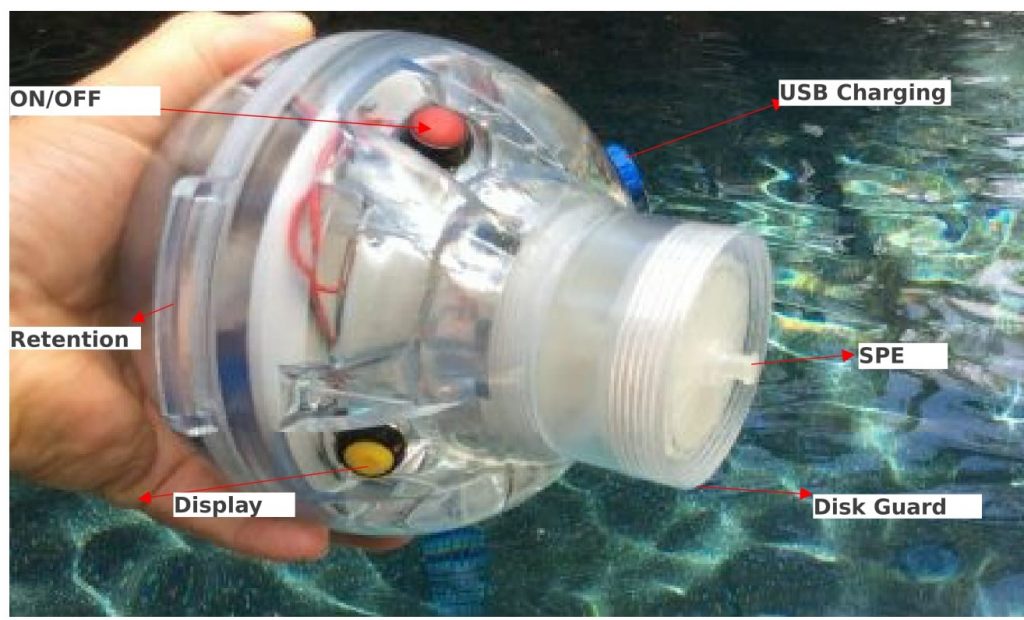
step1: Plug in the charger for the rechargeable battery that powers the CLAM. The charger uses USB to attach to the port in the CLAM. The battery should be plugged in for 12 hours to ensure a full charge before taking the CLAM to the field.
step2:
step3:
step4: 
step5: Before removing the luer lock plugs from the CLAM Disk or Disks if being used in a 2 or 3 stage deployment (a pre-filter disk can be used in front of a media disk for total and dissolved studies), ensure that the CLAM is just about ready to be put in the water.
step6: Now remove the luer lock plugs from the CLAM Disk(s) and secure to the CLAM. The luer locks will only go one direction so if the disk fits securely, it is oriented correctly. The factory printed information on the Disk(s) will face out.
step7: Press the start button. Now the CLAM should be running and ready for submersion. IT IS CRITICAL NOT TO PRESS THE YELLOW BUTTON AGAIN ONCE THE SAMPLE COLLECTION IS BEGUN.
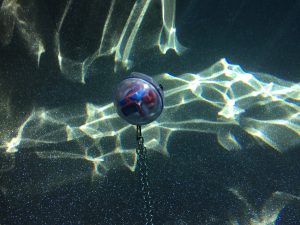
step8: While still activated secure the CLAM to the deployment method already established. Let the unit extract for the time period planned. Record the time, location and date of deployment.
step9: Upon return, pull the CLAM from the water. DO NOT PUSH THE YELLOW BUTTON as it will zero the display before you recorded the resultant reading. Immediately record the reading on the volume totalizer screen. The CLAM Disk(s) should be unscrewed and immediately resealed with the provided luer lock plugs.
step10: The CLAM Disk(s) should now be placed in the Mylar mailer with the Chain of Custody form and delivered to the laboratory. The Chain of Custody should include the total volume of water extracted during the CLAM deployment. This number is derived by multiplying the reading on the volume totalizer by 0.055 (this number is shown on the volume totalizer) to give a value in milliliters. Although testing has shown that there is no degradation of the Disk(s) at room temperature, the deployed disks should be shipped like any environmental sample for trace organic analysis in a chilled state, as commercial laboratories will record the sample as a nonconformance if received otherwise.